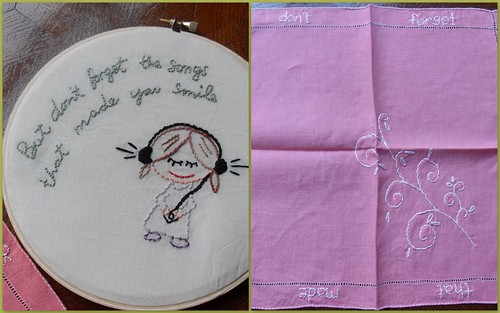
Framing your embroideries in a wooden hoop is an inexpensive way of displaying stitcheries you made or bought (or if you are lucky: received in a swap!) If you have been following this blog you know that I have an ever changing (and expanding) embroidery gallery in my living room. And most (except that awesome swap piece in the top of the gallery) of the pieces are framed in a hoop. I'm not exactly an expert hoop-framer so when I had to glue a commissioned piece in a hoop last week I got a little nervous. Probably because I once almost messed up an embroidery that was meant to appear in a magazine by spilling glue on it. I know there are glue-free options to frame in a hoop but for some reasons those have never appealed to me. Possibly because I'm too lazy. :)
Anyway I think I have now found a way of framing in a hoop that I feel more comfortable with (but still involves some glue!). It's not a revolutionary new approach so I'm not going to call it a tutorial. Just sharing how I framed that little sleepy hedgehog you see pictured above and maybe the information is useful to some of you. :)

After ironing the embroidery (on the 'wrong' side) I put some batting (or wadding, used for quilting and available in craft and fabric stores) between the inner ring and the fabric. This gives your piece a slightly padded look and makes a nice neutral backing for your embroidery (so little stray threads etc are less visible).

I cut away fabric (and batting) about 1-1.5 inch all around the hoop.

Then on to the 'scary' glue bit. I use very little fabric glue (Guetermann creative HT2 available in craft stores over here, not sure about other countries!) on the inside of the inner ring. The batting also doubles as protective layer for any small glue accidents you may experience.

Carefully fold the fabric to the inside of the hoop and gently press the fabric against the glue on the ring. The inner ring is pushed slightly forward so the back 'sinks' in the outer hoop thus making the piece not too bulky on the back.

To finish the back of your piece I find the most easy thing to do is to trace the outer ring of the hoop on a piece of felt, cut the circle out and glue it on the hoop.
So I'm curious: how do you frame your embroideries? To glue or not to glue? In proper frames behind glass? Let me know!
P.S. the little hedgehog I framed in the hoop was one of my earlier patterns and is no longer available but this pattern (on special offer now) is perfectly autumnal too :)