Showing posts with label satin stitch. Show all posts
Thursday, December 10
Stitched Family Heirlooms
This lot was stuffed in an old cardboard chocolate box, handed down to me from my mother's side of the family. I think, based on the initials on the samplers, it's most likely these were stitched by my great aunt Jacoba. Born in 1902 she would have been in her early teens when she made those. The labels (for organising linens) were possibly made at a later date.
Perfect stitches, as you can see, but made in difficult times. This sampler is dated 1914, the year that the First World War started. Even though the Netherlands remained neutral during the First World War, there were lots of consequences for the Dutch. Refugees from Belgium, food scarcity etc. During the First World War, the family lived in the Rotterdam area (my hometown) where towards the end of the war, housewives plundered food stocks. In 1914 Jacoba already had lost two younger sisters (at the ages of 1 and 6 months old) and, in 1917, her oldest sister as well. I wonder how my family was handling it all... We often know so little about our ancestors, even if it's just a few generations back.
The Darning Sampler sadly has some water damage but it shows that Jacoba learned how to mend things as neatly as possible.
There are lots of labels like Nachtjaponnen (Night gowns) Handdoeken (Towels) Bedlakens (Sheets) and Kussensloopen (Pillow cases) I imagine these were pinned to shelves, to indicate where the linens should go. You can even see some rusty marks on the sides of these labels.
The satin stitching on the hanky looks great but what's more amazing: the backside is so neat you can hardly tell it apart from the stitching on the front!
Hope you enjoyed this peek into my stitched family heirlooms. They may not be valuable, but learning a bit more about where these labels and samplers came from, is definitely worth a lot to me.
Sunday, January 12
More Tiny Hedgehog progress: Apple and Fluorescent Scarf
Normally I wouldn't post two times in a row about the same project but I made quite some progress with my Tiny Hedgehog this week and wanted to share it here on the blog. As you may have noticed the Tiny Hedgehog now holds an Apple in his tiny paws (or paw as I still need to add the other paw) and I also added a rather fashionable scarf!
I'm fairly happy with how the Apple turned out, especially considering the tiny size of it. Actually the Apple is a bit tiny even for this Tiny Hedghehog! Luckily my Instagram friends came up with a solution for this oddity: either it's a Crabapple or the Tiny Hedgehog is actually a Giant Hedgehog holding a normal sized apple. :)
I think the scarf (it's an infinity scarf can you tell?) is a real eye catcher with the fluorescent accents. I was unsure when I added the yellow neon colour but now I'm happy I went for a less obvious choice of colour.
I have had these two Fluorescents Flosses (try saying that quickly 10 times in a row!) for a few years now and they are stored in my Floss Cabinet in a Ziploc bag with other less regular threads like DMC Jewel and Pearlescent effect floss. These fluorescent flosses are a bit easier to use than other metallic like threads (check Carina's Glitter Floss compare post!) but, as you can see in the photo, they tend to split instantly. However.... I was able to do a pretty passable Satin Stitch with it so it was worth the extra 'trouble'. :) DMC Light Effect Fluorescent Floss is most commonly sold in packages with four other Fluorescent Colours.
If you like my Furry Creatures in Stitches you might be interested in the online Embroidery class I"m launching later this year. Send me an e-mail (big red button on the right) if you want to be added to the special Furry Nice Mailing List. :)
p.s. as you may remember I'm stitching my Hedgehog project for the &Stitches Finish-Along. There's still plenty of time to join in!
Sunday, May 19
Exploring the Satin Stitch
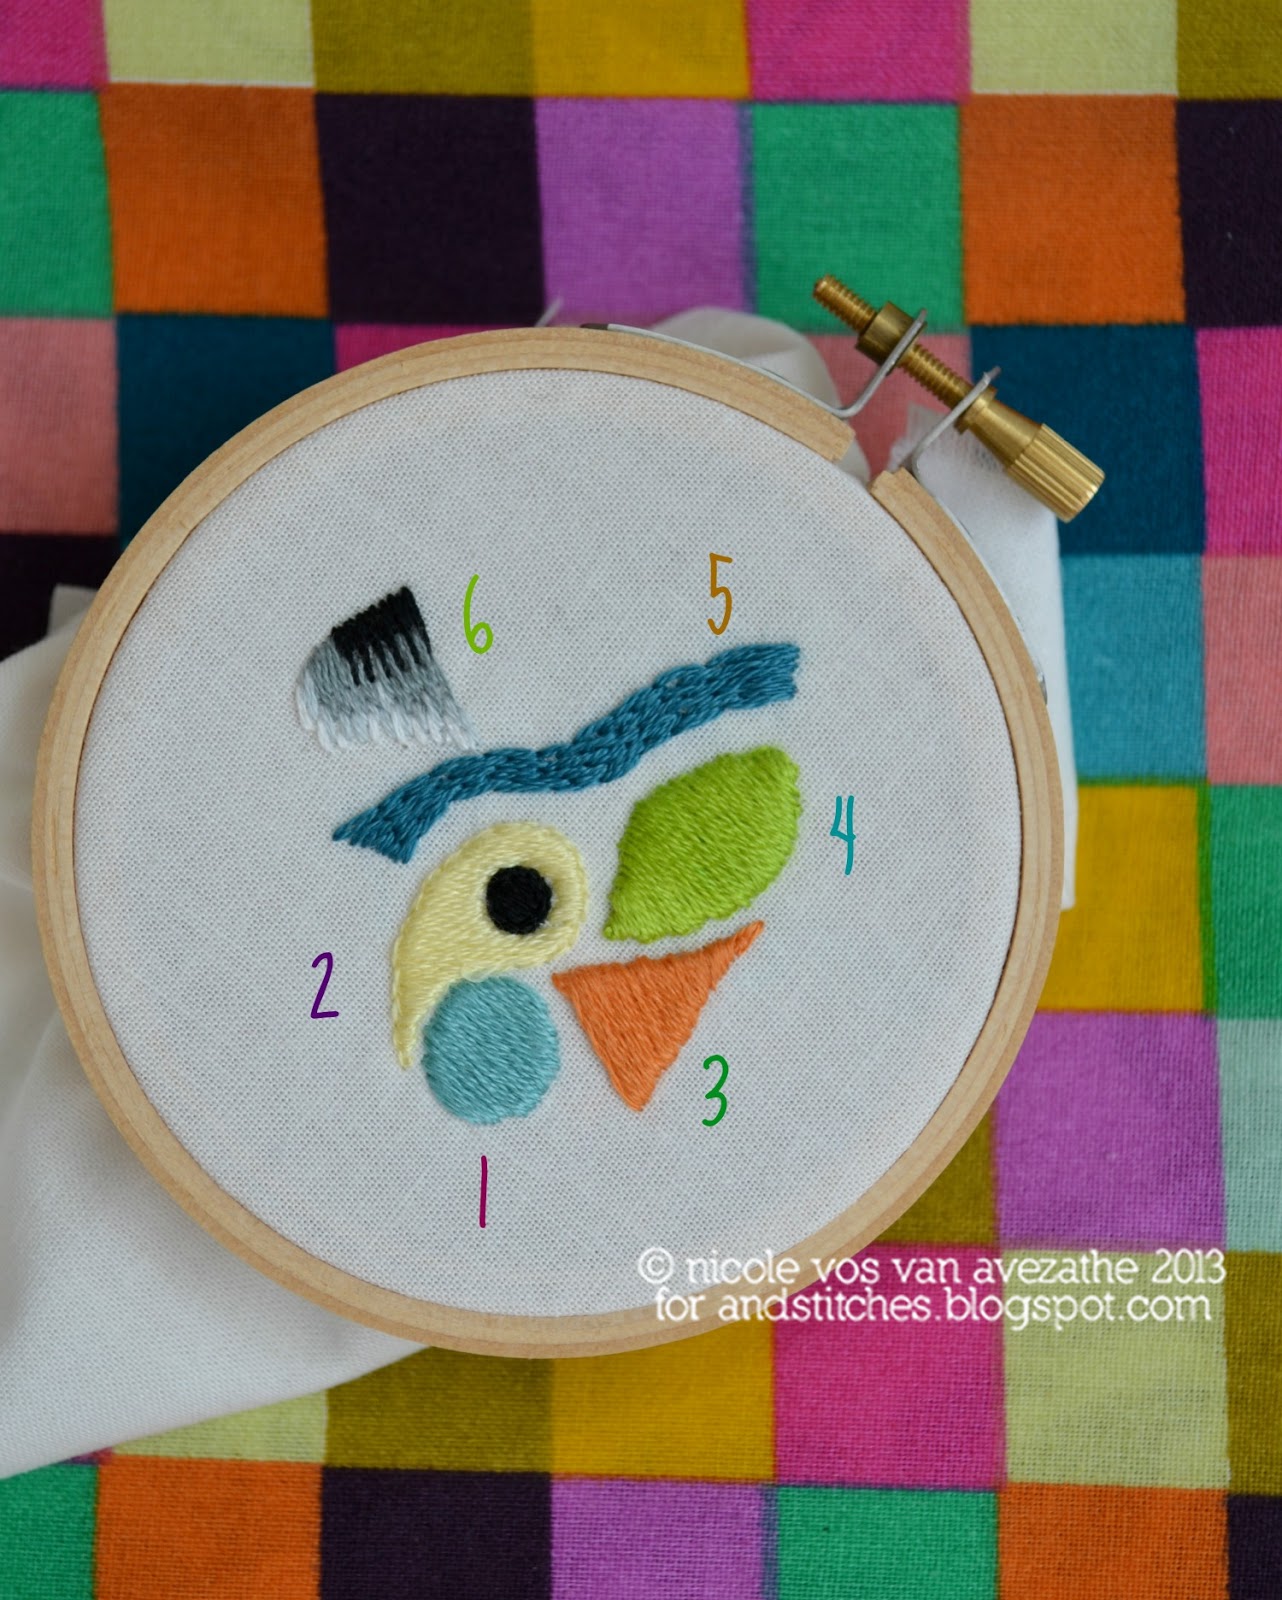
I have been doodling away using only (variations of) the Satin Stitch and I wrote all about my explorations on the &Stitches blog! It's a lovely stitch and I'm definitely not done exploring it. :)
Monday, June 11
Exploring Satin Floss
![]() |
| photo courtesy of DMC |
Earlier this year the nice people over at DMC Creative sent me a lot of their fine goodies to use in my embroidery design work. Not just the 'regular' Mouline six stranded embroidery floss but also Satin Floss. It sat in my stash for a bit, as I was a little apprehensive about using it. But...I used it recently for a new pattern (for the next &Stitches e-zine!) and I thought I'd share my first experience with Satin Floss with you all.
DMC Satin floss is actually the (improved) replacement of what used to be DMC Rayon floss. Like 'regular' floss it has six strands and they tend to separate really easy. Actually it's kind of hard to prevent them from separating once you have cut a length from the skein.
There is a range of different colours available (36 in total) and the numbers on the Satin floss correspond with that of the Mouline floss (see photo above). The thread is super soft and silky and above all very, very shiny.
I used a simple flower design to try out different ways of using Satin floss.
1. Satin stitch with a single strand of Satin floss (DMC S899) Soft, shiny and smooth result.
2. Satin stitch using two strands of Mouline six stranded floss (DMC 899) and one strand of Satin floss (S899) I was amazed that a single strand still made the petal look super shiny.
3. Satin stitch with a single strand 'regular' Mouline six stranded floss (DMC 899)
4. Satin stitch with a single strand of Satin floss (DMC S818) A really smooth and shiny result
5. Shading with one strand of Mouline six stranded floss (DMC 818, 899 and B5200) Not my best shading, but in my defense: it actually looks better in real life than on this photo!
6. Shading with one strand of Satin Floss (DMC S818, S899 and S5200) Again the actual embroidery looks better, honestly. :)
Satin stitches are the way to go if you are using Satin Floss. The longer stitches really catch the light beautifully. I can imagine it would look especially great when you embroider flower designs on clothing or household textiles for example. Admittingly, working with Satin floss is a little trickier compared to using Mouline floss but definitely not 'too hard' for a stitcher with a little experience. The stitches do not lie as flat on the fabric compared to 'regular' thread. On the other hand this also gives a nice padded effect. Personally I prefer to use just one strand of this thread as it easier to 'control' and gives you a more refined result.
The Satin stitch (there are tutorials all over the internet) is not a difficult stitch to learn but it takes some practice to get a neat result. I find that it helps to start in the middle of whatever you are fill stitching and work your way first to the right (or left) and visa versa. And maybe in a while you will be able to stitch something like this:
![]() |
| photo courtesy of DMC |
Hope my exploration of Satin Floss was useful to you, please let me know if you have any questions! (I will then answer them in the comments)
Subscribe to:
Posts (Atom)