Friday, August 29

How to Pixelate a Photo (without using Photoshop)


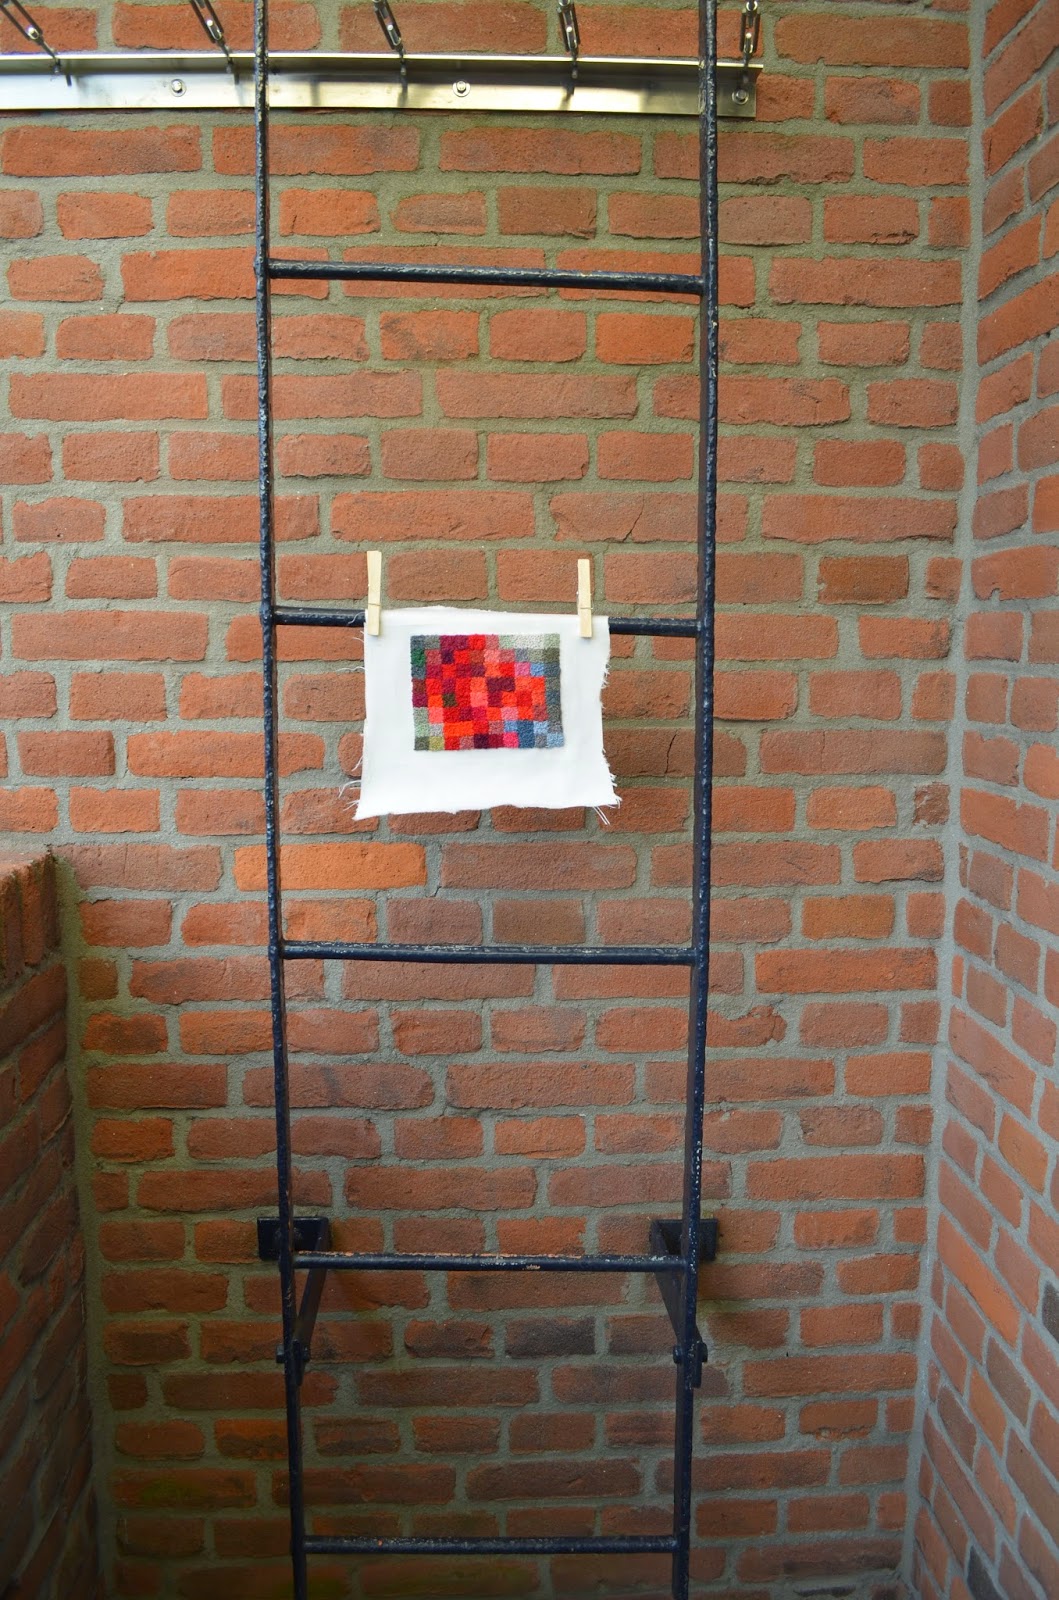
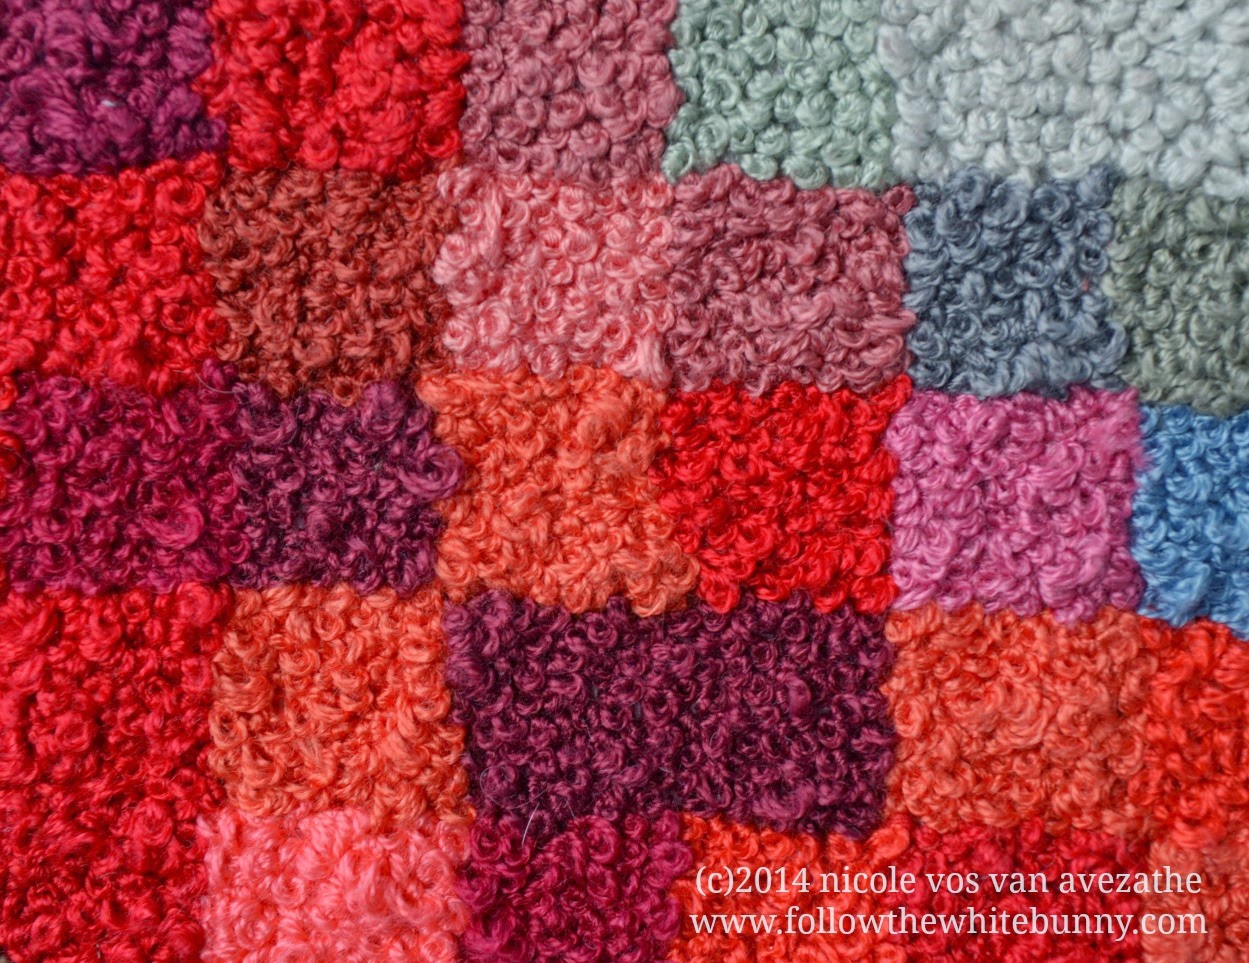
A couple of weeks ago I wrote about my Big French Knot project  which basically is a pixelated Rose stitched in French Knots. Today I will show you how I pixelate pictures in a photo editing program called GIMP.* GIMP is free software and comparable to (but not the same as) Photoshop. If you can't afford Photoshop, GIMP is a good alternative.

First download GIMP

Open the photo you want to pixelate (or pixelize as GIMP calls it) by clicking FILE > OPEN. Some pictures 'translate' better to a pixelated image than others. If there is little variation in lighter and darker shades in the original photo it might just end up as a bunch of coloured squares in the pixelated version. Also: the less pixels you choose (we'll come to that in the next step), the harder it'll be to recognise whatever is on your photo.


Under FILTERS choose BLUR > PIXELIZE


You can change the size of the pixels by using the little up-and-down arrows. The width and height are linked automatically so when you adjust the width, the height will be adjusted simultaneously. The higher the number, the larger the pixels will become.

When you're done pixelating, you can export the image (in a PNG format for example) and save it for future reference. Go to FILE > EXPORT.  I always use the standard settings in the export process.


Et voila: you've created a pixelated picture! Although obviously not as sophisticated as dedicated quilt or other design programs (such a cross stitch design software), I figured this could be a nice free tool for some to prepare work on pixelated embroideries and quilts.

*Disclaimer: I'm not tech savvy at all so don't throw any too technical questions my way. :)

Friday, August 22

I'm in the new Mollie Makes Embroidery Book!

My Cloud pillow project. Photo by Vanessa Davies
Just two weeks ago a new Mollie Makes book was released, it's simply called Mollie Makes Embroidery.  I was very pleased when I was asked to contribute to it last year and I was even more pleased when I received my copy and saw how wonderful it has turned out!

My project in this book is the cloud shaped pillow embroidered with a cat and a polar bear, you see pictured above. The umbrellas are really mini-samplers, featuring some of my favourite stitches like the Bullion Knot and the Wheat Ear Stitch. I'm really happy with the result although making the cloud-shaped pillow 'cloud-shaped' was a bit of a challenge but I got there in the end.


The grey-and-white-socks cat in my Pillow design is inspired by my own cat Milo. :)

Carina's project. Photo by Vanessa Davies
The first half of the book features 15 projects from (amongst others) my &Stitches pal Carina, Mollie from Wild Olive, Sophie from What Delilah Did and many more embroidery designers. The projects and designs are 'typically' Mollie Makes: charming, fresh, modern but with a retro feel to them. Even a technique that seems a bit outdated (at least to me) like Silk Ribbon Embroidery gets an impressive, new look in Mollie's Pretty Posy Ribbon Runner Project.

Many different embroidery techniques are highlighted in the different projects: from 'free form' hand embroidery to Cross stitch and from Crewel to Stump work.

Mama and Baby Owl by Michelle Galletta. Photo by Vanessa Davies

The second half of the book consists of an extensive 'how to' section (about 80 pages) and many stitches and techniques are explained in words, pictures and with diagrams. Obviously the 'basics' are there but also less obvious stitches and techniques like the Raised Fishbone Stitch and Bargello are included. As is a section about Machine Embroidery, often overlooked in Embroidery books.


I think the great projects and incredibly useful techniques section make this book a 'must' for new embroiderers and more experienced stitchers alike. Mollie Makes Embroidery is published Pavilion Craft (UK) and Interweave (US) and now available in bookstores and in online shops.

Wednesday, August 20

Owl


Here's a half-finished Owl for you. With just a few pencil lines on fabric to roughly mark the outline and the eyes, I started embroidering. Although I started this piece stitching a quite natural looking Owl, I added some not non-natural colours along the way and I'm glad I did.

I love owls and a few years back I got to stroke a real owl which was really awesome. Here's a dorky photo of myself with two of the owls from the Owl Centre I visited in the UK :)


Friday, August 15

5000 French Knots


I've been working on this project on and off in the last month or two.  I think there are at least 5000 French Knots in this project, probably more but I didn't really keep count.

The idea for this piece came from a brief for the 2014 Hand & Lock Embroidery Prize. It had a theme I really liked 'Floral: pattern & geometry'. Obviously I wasn't going to enter the competition but I did feel inspired to do my own Floral/Geometry Embroidery experiment.

I started by pixelating a photo of a rose (I will post a tutorial on how to pixelate a photo later this week) I made the pixels quite large, so when you see the piece close up you probably won't recognise it as a rose. But when you see it from a distance it starts to look more like a rose. At least I think so...


The image was ten by eight squares after I pixelated it (so 80 squares to fill in total). I then simple drew a grid onto fabric with a regular grey pencil and a ruler and made the squares 1" each. That was the idea anyway, some squares were slightly smaller, others slightly bigger. Up till that moment I didn't know how I was going to fill the squares but I quickly decided on French Knots. I liked the idea of filling the straight lined grid with soft round shapes, adding an almost organic feel to the pixelated piece.


I mostly used 3-4 strands of floss and about 35 different colours (or shades). Lots of pinks (including a not particularly pleasant colour I would call 'dusty liver') purples and reds of course and shades of grey and green too. At first I tried to match the floss exactly to the colour on the pixelated picture but that didn't really work out very well, there were just not enough floss colours available to make exact matches. And there were instances where I thought I'd found the perfect colour but when I started stitching it turned out much lighter/darker/duller than expected. So I just tried to get the colour about right and paid more attention to comparing the value of the colours (light, medium, dark) right next to the square I was about to fill.

I think it all worked out quite well in the end. And to think I had such hard time mastering the French Knot when I first started with embroidery years ago.... :)

Thursday, August 14

And Flossy the Sheep goes to...


Pippirose! Congratulations. I will contact you soon so I can send you some embroidery goodies, including Flossy the Sheep. :)

Many thanks to all embroiderers who entered the giveaway, I really wish I could send Flossy the Sheep to each and everyone of you! Remember you can find Flossy the Sheep and other adorable bobbins at Missy's Shoppe Sugar Cookie 

Friday, August 8

Furry Nice Class Reminder


This is my second version of my Polar Bear pattern (see my first version here) because after stitching him on regular fabric  I wanted to try to and embroider him on patterned fabric as well. I chose a rather busy Liberty print. Obviously this Polar Bear is far from finished but I will stitch along with the students of my second Furry Nice Class that starts late September so he definitely will be finished in the next two months.

If you are interested in joining the class too you might want to do that today or tomorrow as the Early Bird discount ($40 instead of $45) expires after tomorrow! Find more info about the class here.

Tuesday, August 5

Fabulous and Flossy (and a giveaway too)


While I'm normally more of a 'cat' person, I'm smitten with Flossy the Dachshund! He's an excellent helper when it comes to holding half used skeins of embroidery floss. Flossy the Dachshund was sent to me by Missy of Shoppe Sugar Cookie along with Flossy the Sheep (see photo below). Both are absolutely adorable and it's a shame that I can't store my whole floss collection on Flossy Animals. Missy has lots of other Flossy animals as well in her shop including bunnies!


I'm so tempted to keep both the Flossy Animals but I promised I'd share one of these with you. So Flossy the Sheep is looking for a new home and the good news is that you don't have to have a farm or land to take care of Flossy. Just feed her some thread (or even twine) from time to time and keep her with your other embroidery supplies. I will throw in some floss and possibly other stuff in the envelope as well to make a neat little package for one embroidery-loving winner!

Simply leave a comment on this blog post before Monday the 11th of August, noon (Amsterdam Time) if you want to have a chance of winning Flossy the Sheep (and some other stuff) and let me know why you love embroidery. :)  Be sure to leave a 'trail' (e-mail, link to blog, twitter etc) so I can track you down in case you are the lucky winner.... Good luck everyone!